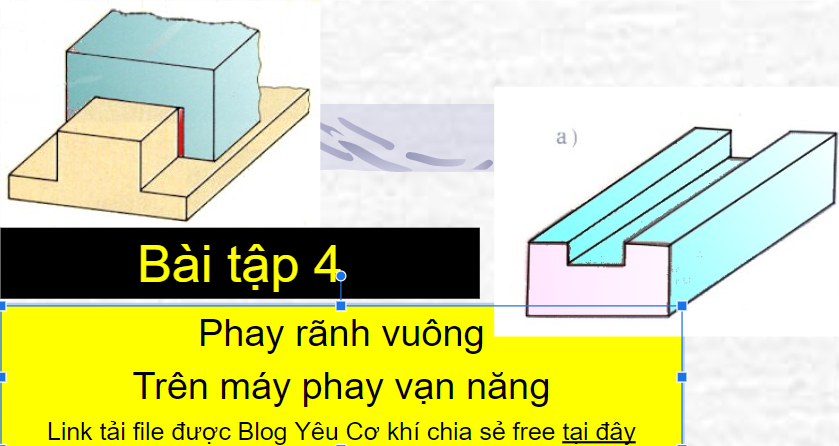
Quy trình PHAY RÃNH VUÔNG trên máy phay vạn năng
Bản xem trước: Quy trình PHAY RÃNH VUÔNG trên máy phay vạn năng
BẠN CÓ THỂ TẢI VỀ FREE THEO LIÊN KẾT Ở DƯỚI NHA
>>>>>>>>>>>>>>> Link tải file Thực tập phay cơ bản Quy trình PHAY RÃNH VUÔNG trên máy phay vạn năng
CÁC PHƯƠNG PHÁP PHAY RÃNH VUÔNG
1. Khái niệm về các loại rãnh
2. Các loại dao dùng để gia công rãnh vuông
3. Các phương pháp gia công rãnh vuông
4. Phương pháp đo và kiểm tra
5. Dung sai lắp ghép
6. Các bước chuẩn bị cho gia công rãnh vuông
7. Trình tự gia công rãnh vuông
Lắp đồ gá lên bàn máy
Lắp dao vào trục chính
Gá chi tiết lên đồ gá
Điều chỉnh máy (s ; t ; v)
Chỉnh dao ngay tâm chi tiết gia công
Phay thô rãnh rộng 11,5mm & sâu 4,5mm
Đo và kiểm tra rãnh
Gia công rãnh đúng kích thước và yêu cầu kỹ thuật
Lấy bavia, kiểm tra, tháo chi tiết
8. Các dạng sai hỏng khi gia công rãnh vuông
1. Rãnh không đúng kích thước
2. Rãnh không đạt yêu cầu về độ bóng
3. Rãnh không song song với cạnh đáy
4. Rãnh không nằm ngay giữa chi tiết
9. An toàn lao động
10. Những điều cần biết khi thực hành phay trên máy vạn năng
1. Trước khi tiến hành gia công cần phải xem xét hệ thống công nghệ đã cứng vững chưa?
2. Để điều chỉnh chiều sâu cắt phải di chuyển chi tiết từ từ lên khi dao đang quay
3. Nên thực hiện đường chuyển dao không gián đoạn để đạt được độ bóng trên suốt chiều dài của rãnh
4. Muốn thực hiện việc ngừng máy, phải tắt tự động đưa bàn máy trở lại vị trí ban đầu rồi tắt máy
BÀI TẬP THỰC HÀNH gia công rãnh vuông
Ngoài ra, bạn còn có thể được tìm hiểu thêm về dung sai lắp ghép trong đo lường kỹ thuật.
Bạn có trao đổi gì về "Quy trình phay Rãnh vuông góc trên máy phay vạn năng" này không? Hãy để lại Comment trong phần Nhận xét cuối bài đăng nhé. Bài viết này thuộc chủ đề Giáo trình Phay công bố trên Blog Yêu Cơ Khí #YCK2020 - Kênh chia sẻ kiến thức về Công nghệ Chế tạo máy.
XEM THÊM: Môn Đồ gá
Bài trước: Thực tập phay cơ bản: BÀI 3 PHAY MẶT PHẲNG NGHIÊNG
Liên quan:
Bạn muốn Tìm kiếm gì không?
Lắp đồ gá lên bàn máy
Lắp dao vào trục chính
Gá chi tiết lên đồ gá
Điều chỉnh máy (s ; t ; v)
Chỉnh dao ngay tâm chi tiết gia công
Phay thô rãnh rộng 11,5mm & sâu 4,5mm
Đo và kiểm tra rãnh
Gia công rãnh đúng kích thước và yêu cầu kỹ thuật
Lấy bavia, kiểm tra, tháo chi tiết


